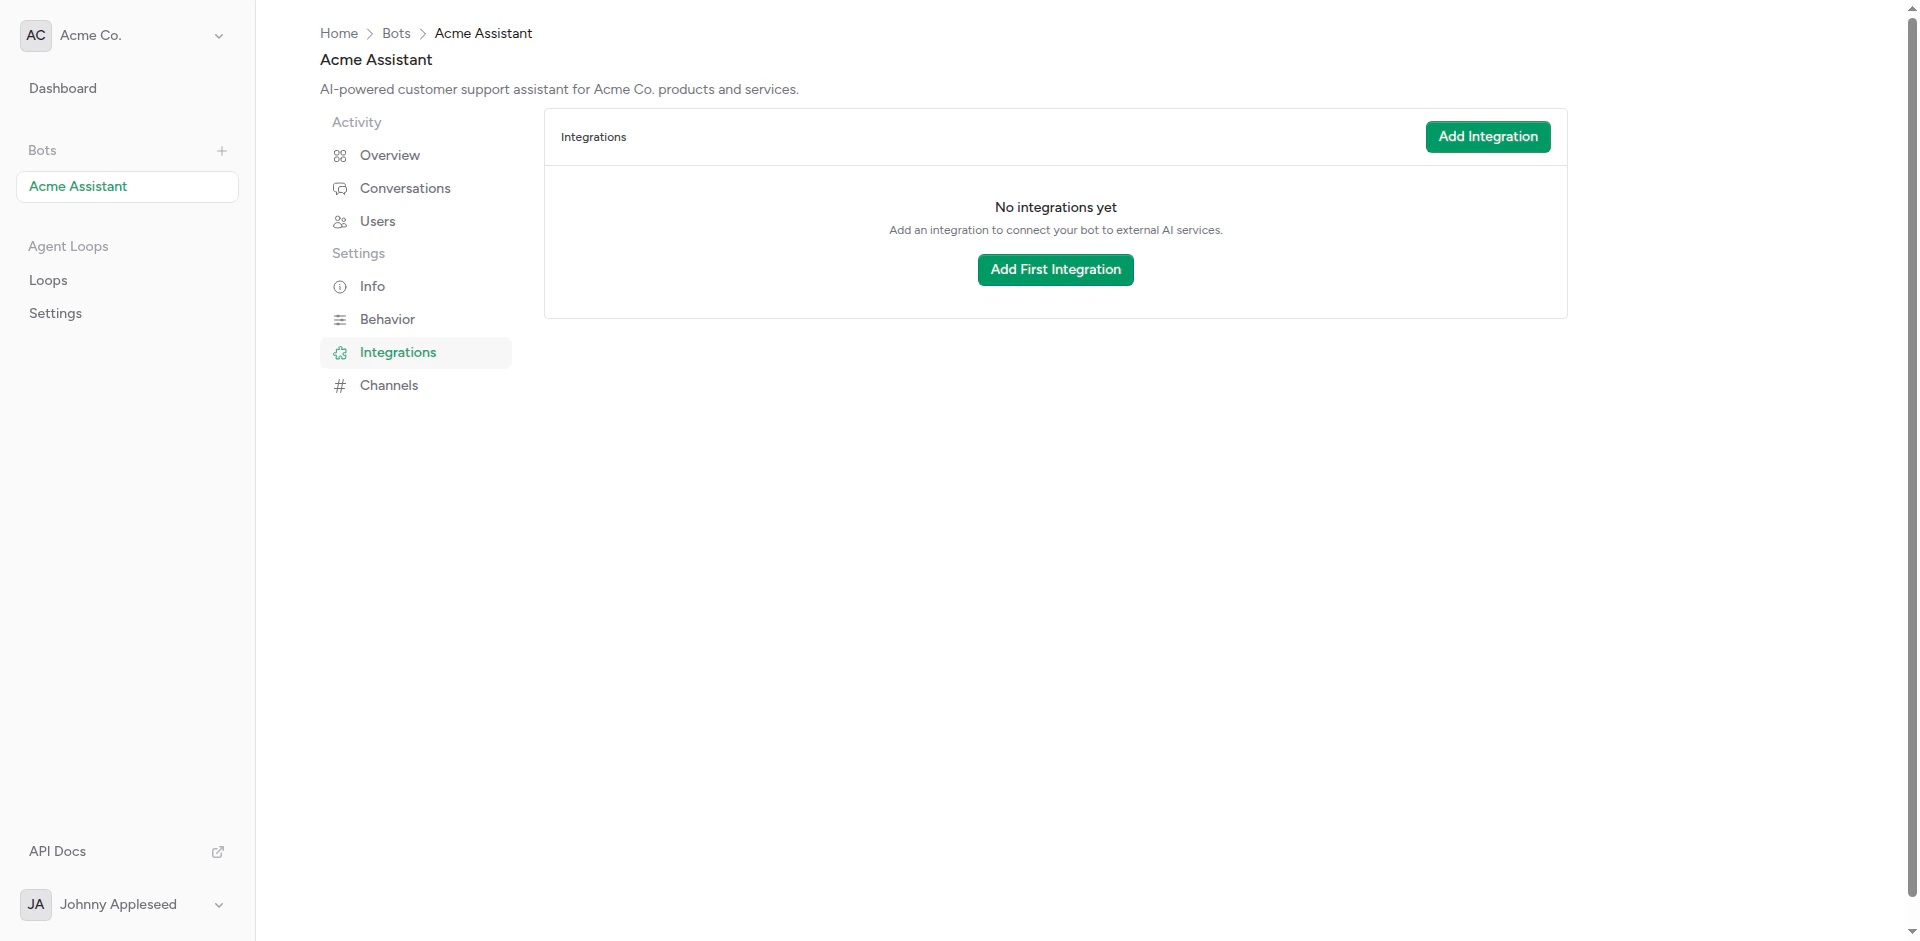
Empty integrations page
Overview
An integration consists of:- Webhook URL: The endpoint to send messages to
- HTTP Headers: Authentication and custom headers
- Timeout: Maximum wait time for responses
- Weight: For A/B testing (optional)
- Payload Format: The request structure sent to your backend
Create integration form
Creating an Integration
1
Navigate to Integrations
From your bot page, click Integrations in the sidebar.
2
Click Create Integration
Click the Create Integration button to open the form.
3
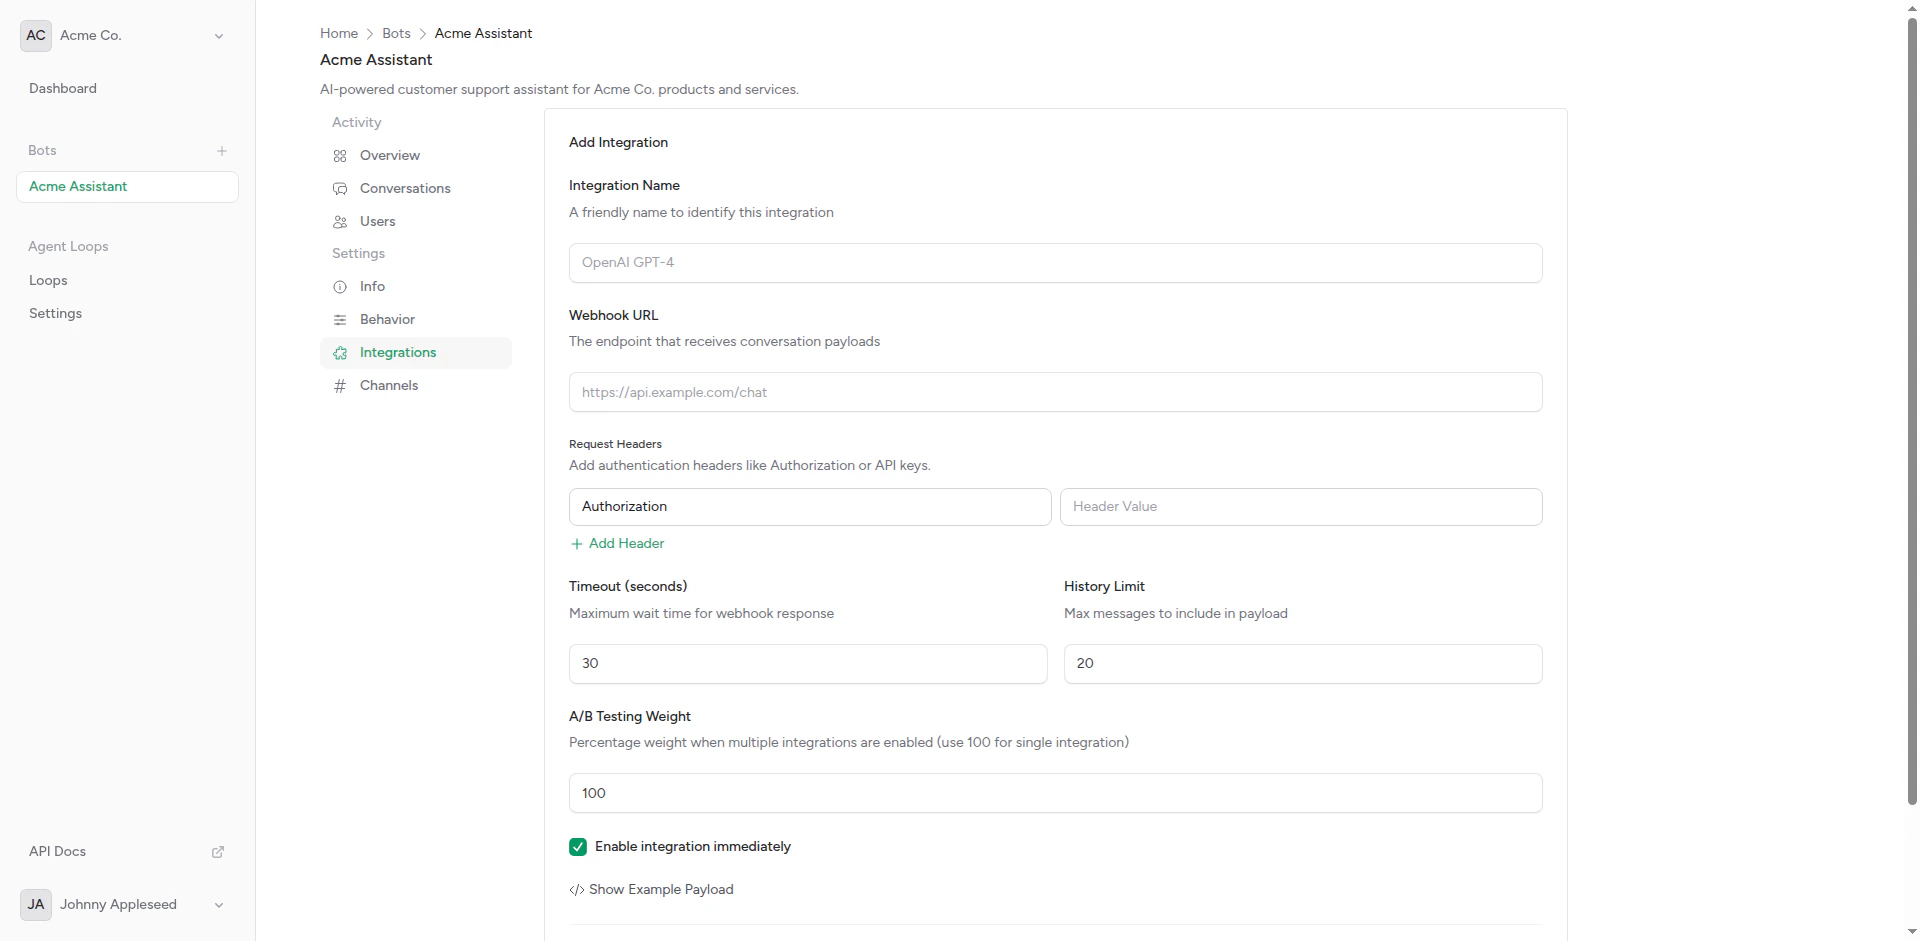
Configure Basic Settings
Enter the integration details: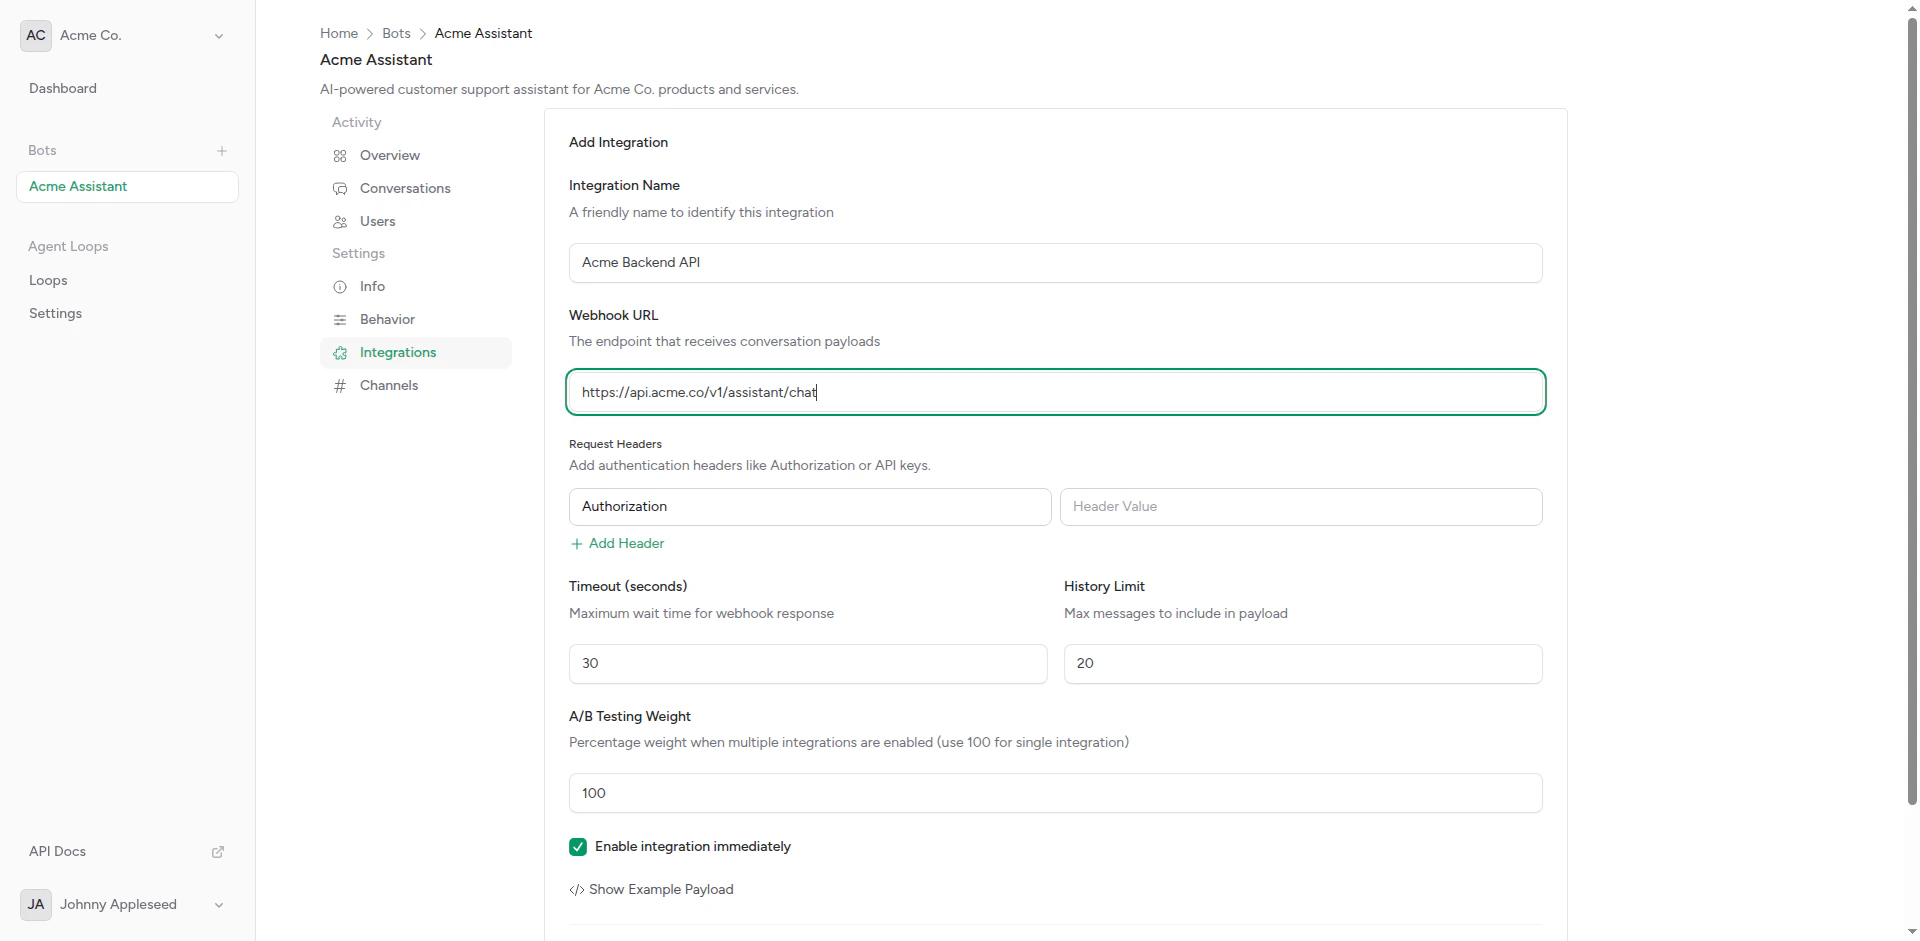
Basic integration information
- Name: Friendly name (e.g., “OpenAI GPT-4”)
- Webhook URL: Your AI backend endpoint
- Timeout: Response timeout in seconds (default: 30)
4
Add Headers (Optional)
Add authentication or custom headers:
Integration with custom headers
5
Configure Advanced Settings
Set additional options: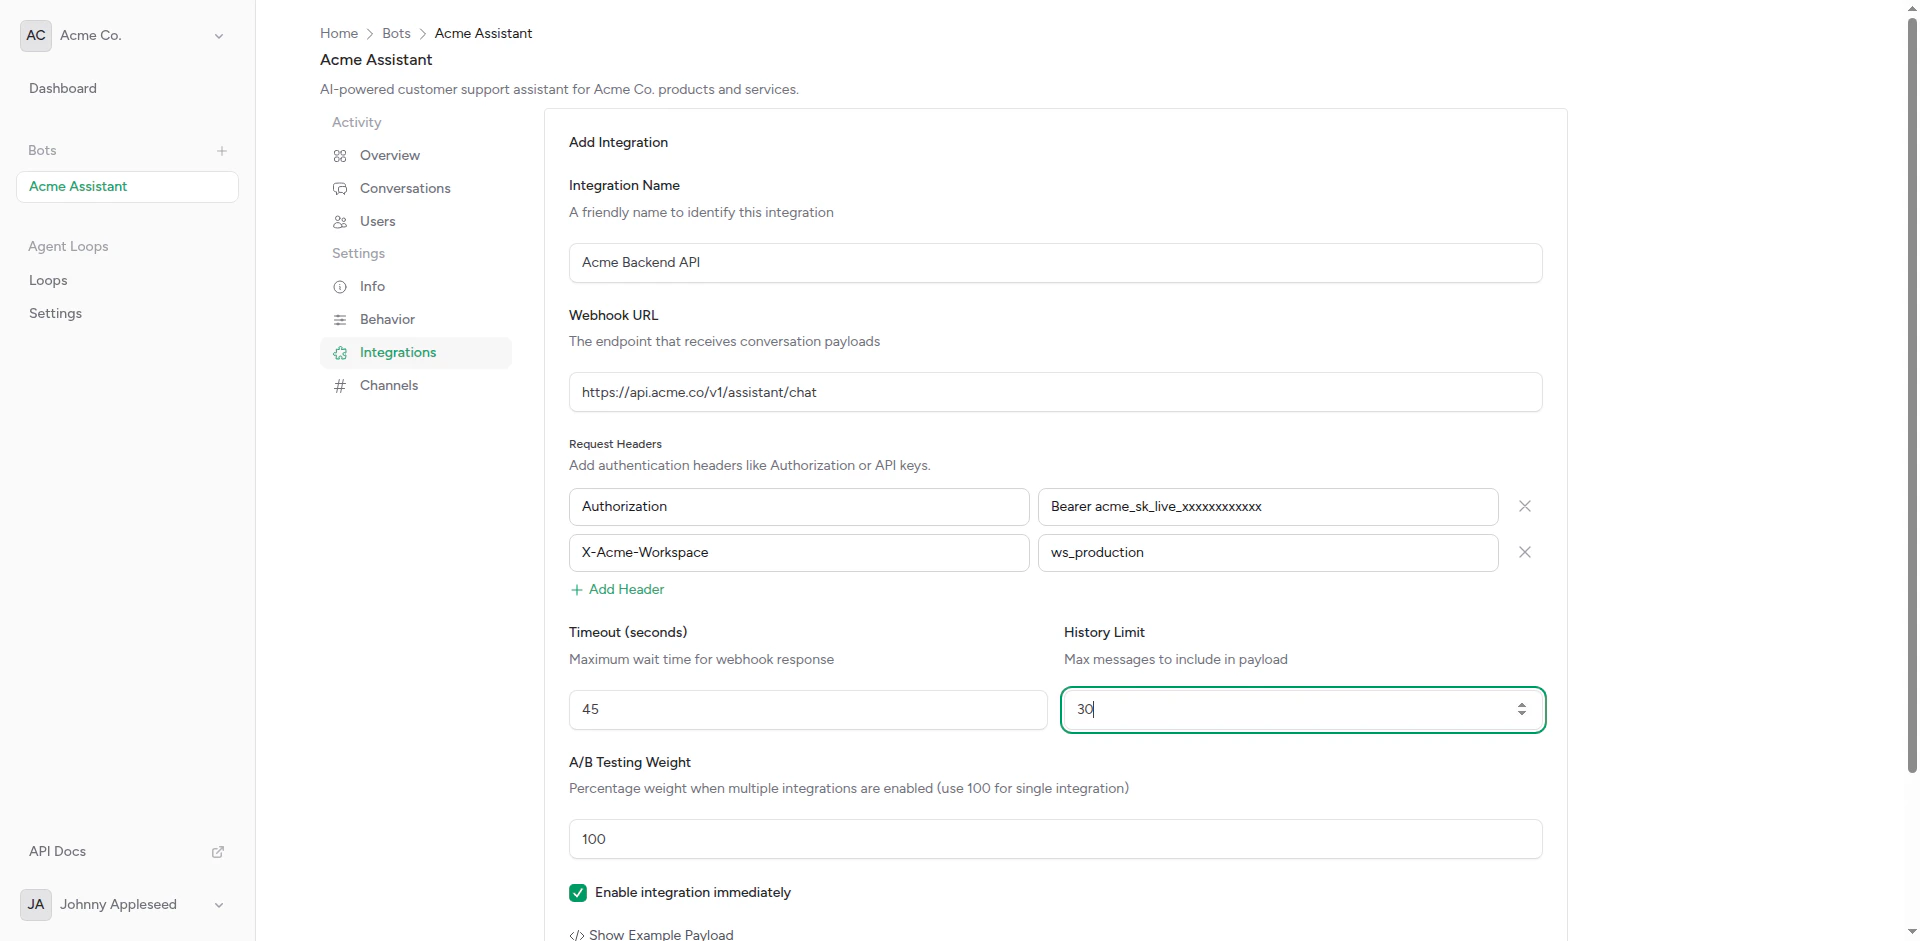
Advanced integration settings
- Weight: For A/B testing (default: 1)
- Fallback: Mark as fallback integration
6
Preview Payload
Review the payload format that will be sent: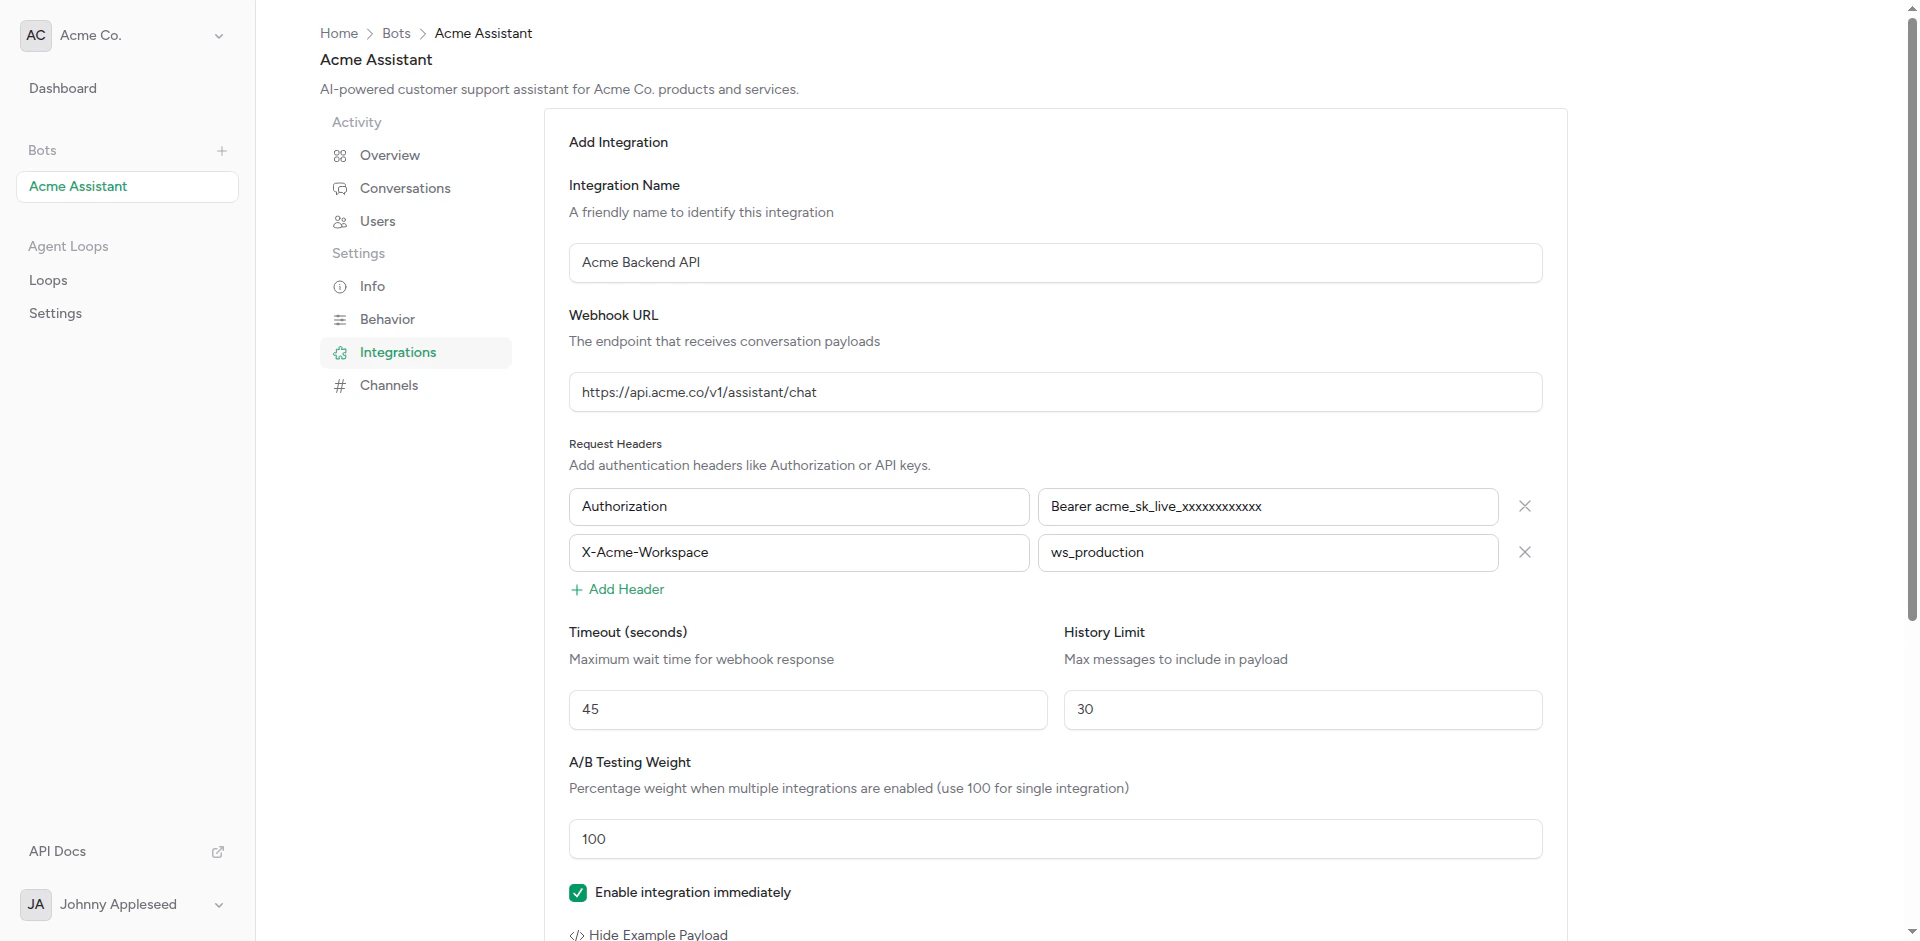
Payload preview
7
Save
Click Create to save the integration.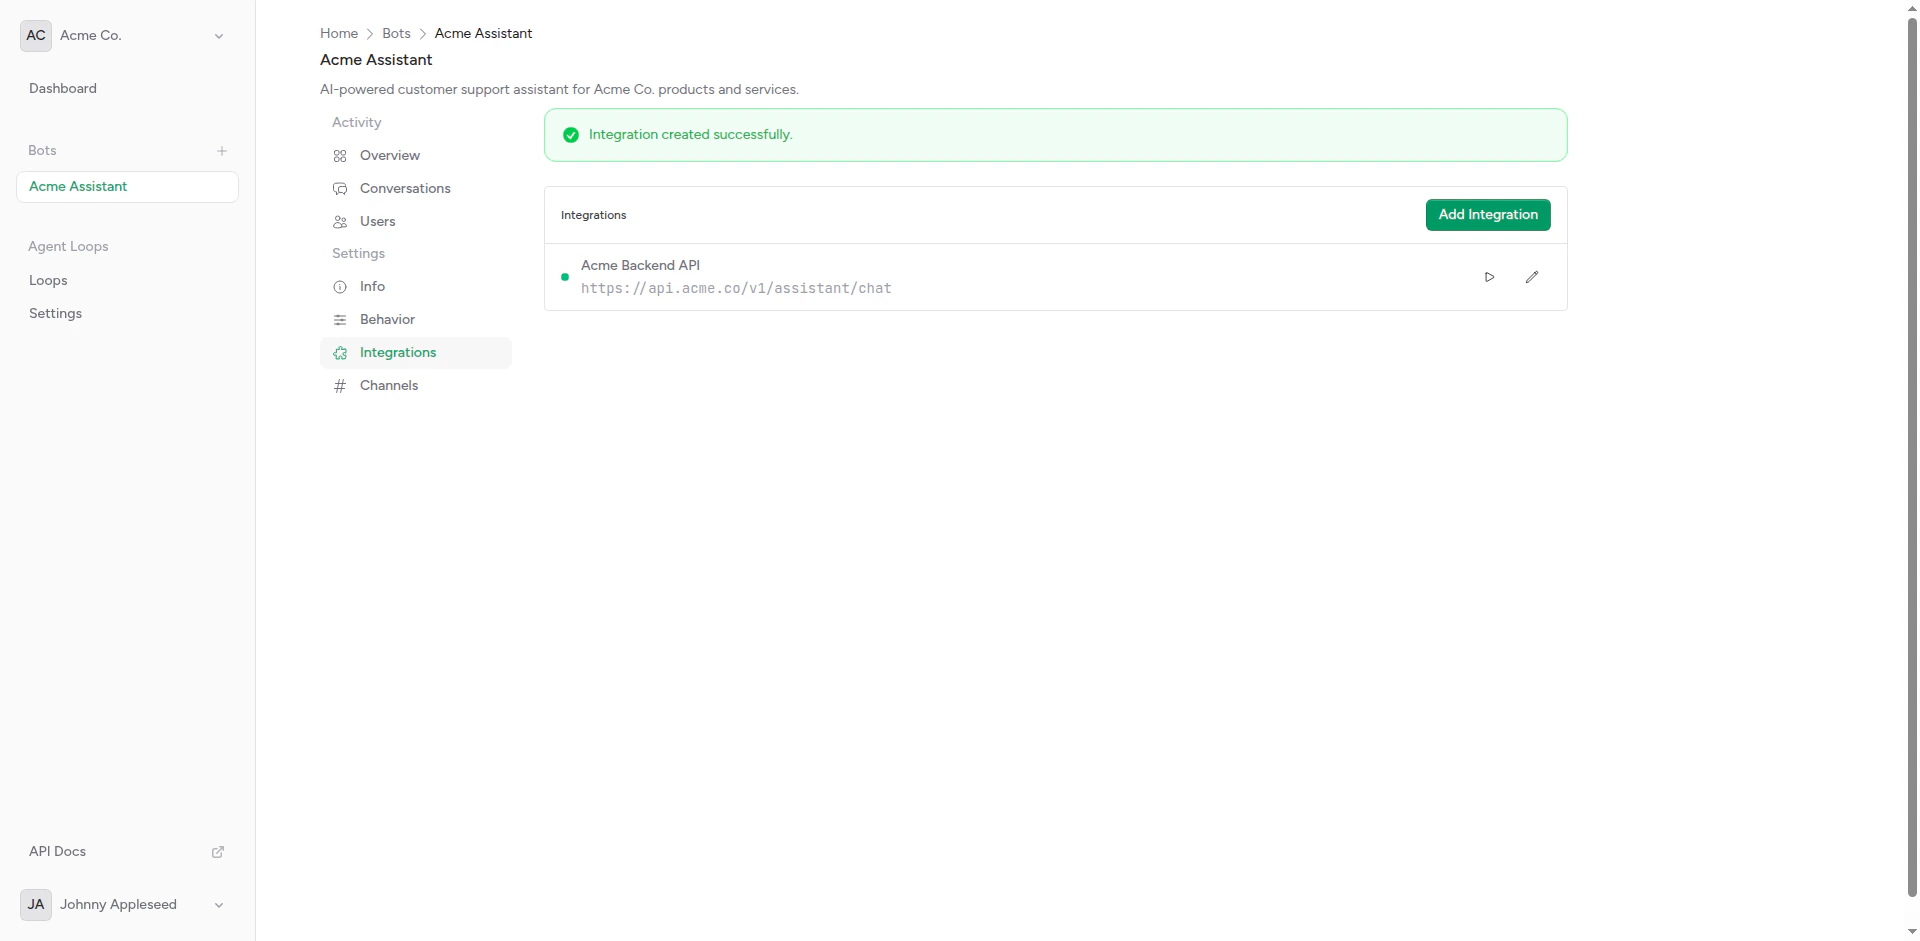
Integration created successfully
Request Payload Format
When a user sends a message, your integration receives a POST request with this structure:Messages Array
Themessages array contains conversation history based on your configured context window:
Expected Response
Your backend should return JSON with this structure:content field is required. Everything else is optional and stored for your reference.
Integration Types
OpenAI Compatible
For OpenAI API or compatible services:Anthropic (Claude)
For Anthropic’s API:Custom Backend
For your own API:Fallback Integrations
Mark an integration as “fallback” to use it when the primary integration fails: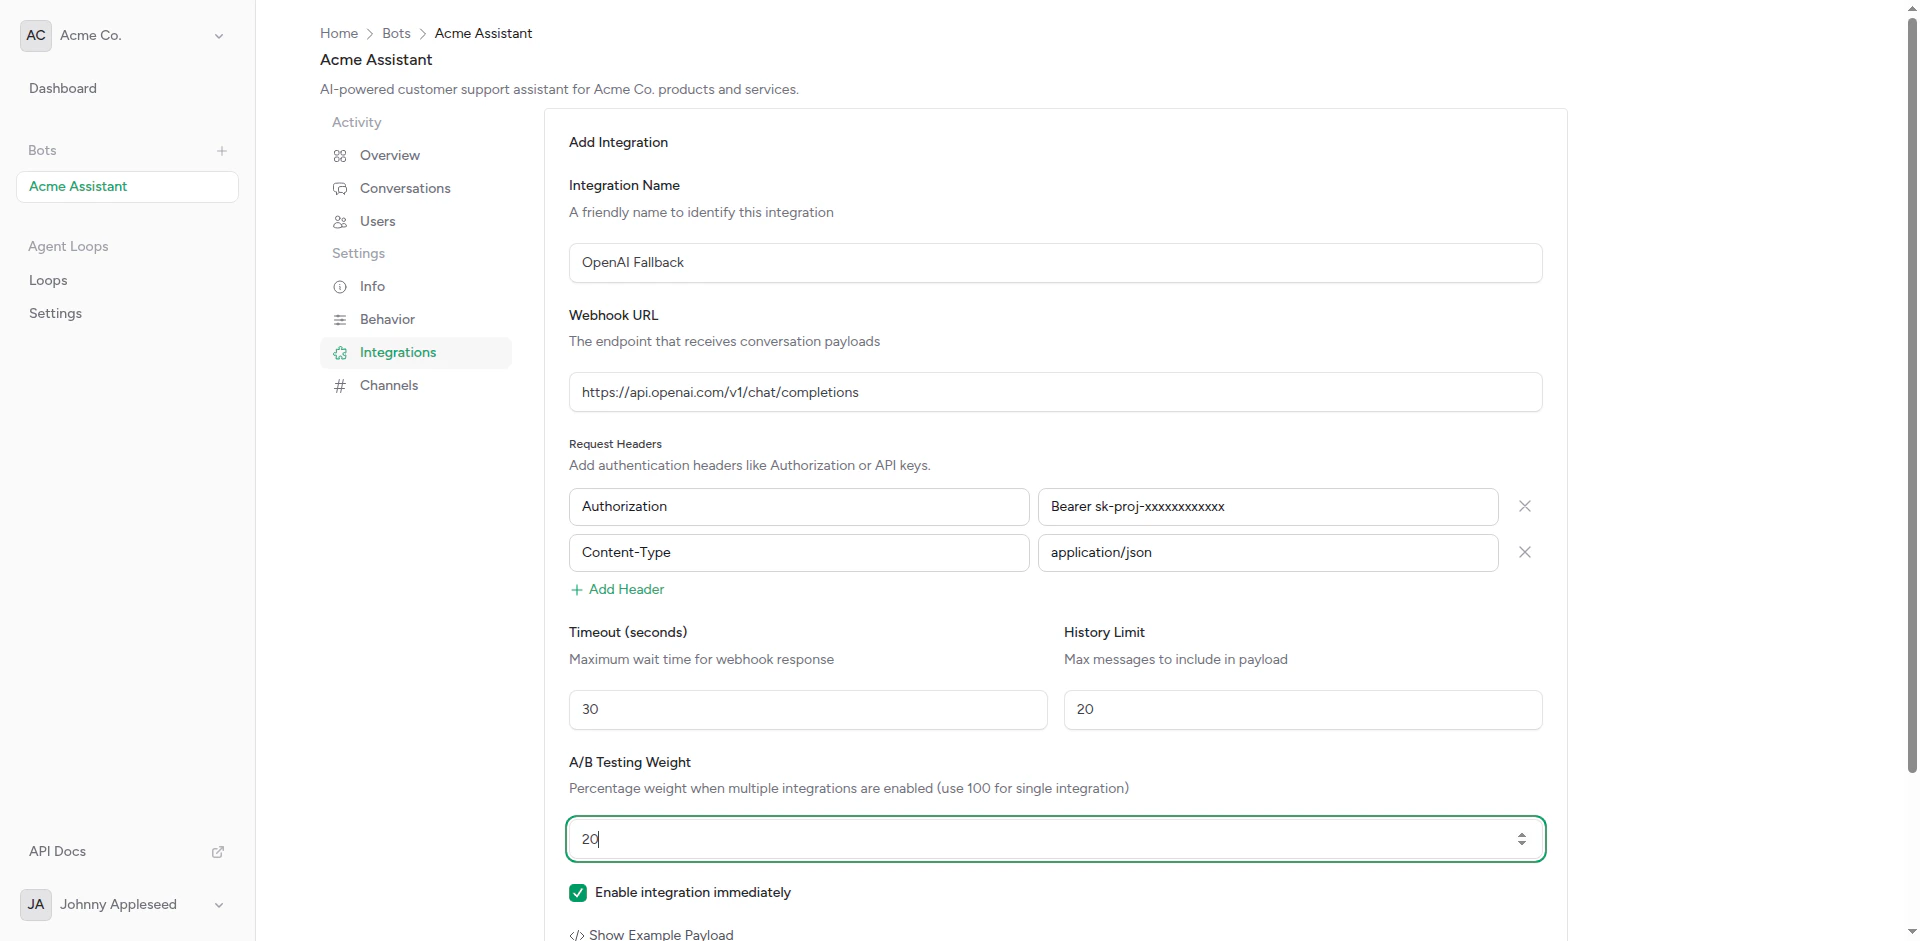
Fallback integration configuration
- Bot tries primary integration (highest weight)
- If it times out or errors, tries fallback
- If fallback also fails, sends error message to user
Related Topics
Webhook Setup
Detailed webhook configuration guide
A/B Testing
Compare multiple AI backends
Custom Headers
Authentication and custom headers
Testing Your Integration
Use the built-in test feature:1
Go to Integration
Open the integration you want to test.
2
Click Test
Click the Test button.
3
Send Test Message
Enter a test message and submit.
4
Review Response
Check the response from your backend. Look for errors or unexpected behavior.
Troubleshooting
Timeout Errors
If requests timeout:- Increase timeout value
- Optimize your backend for faster responses
- Check network connectivity
Authentication Errors
If you get 401/403 errors:- Verify API keys are correct
- Check header format
- Ensure headers include required authentication
Invalid Response Format
If the bot can’t parse responses:- Ensure response is valid JSON
- Include required
contentfield - Check for encoding issues
API Access
Manage integrations programmatically using the API.Create an integration via API
Create an integration via API
- cURL
- JavaScript
- PHP
- Python
List bot integrations
List bot integrations
- cURL
- JavaScript
- PHP
- Python
Update an integration
Update an integration
- cURL
- JavaScript
- PHP
- Python
Complete API Reference
View the full API specification with all endpoints, parameters, and response schemas.
Next Steps
Webhook Setup Guide
Detailed setup instructions
A/B Testing
Configure multiple integrations