> ## Documentation Index
> Fetch the complete documentation index at: https://docs.chatbotplatform.io/llms.txt
> Use this file to discover all available pages before exploring further.
# Quickstart
> Create your first AI chatbot in 5 minutes
Get your first AI chatbot up and running in just a few steps.
This guide assumes you have already signed up at [app.chatbotplatform.io](https://app.chatbotplatform.io/register).
## Create Your First Bot
From your dashboard, click on **Bots** in the sidebar to view your bots.
Click the **Create Bot** button. Enter a name and description for your bot.
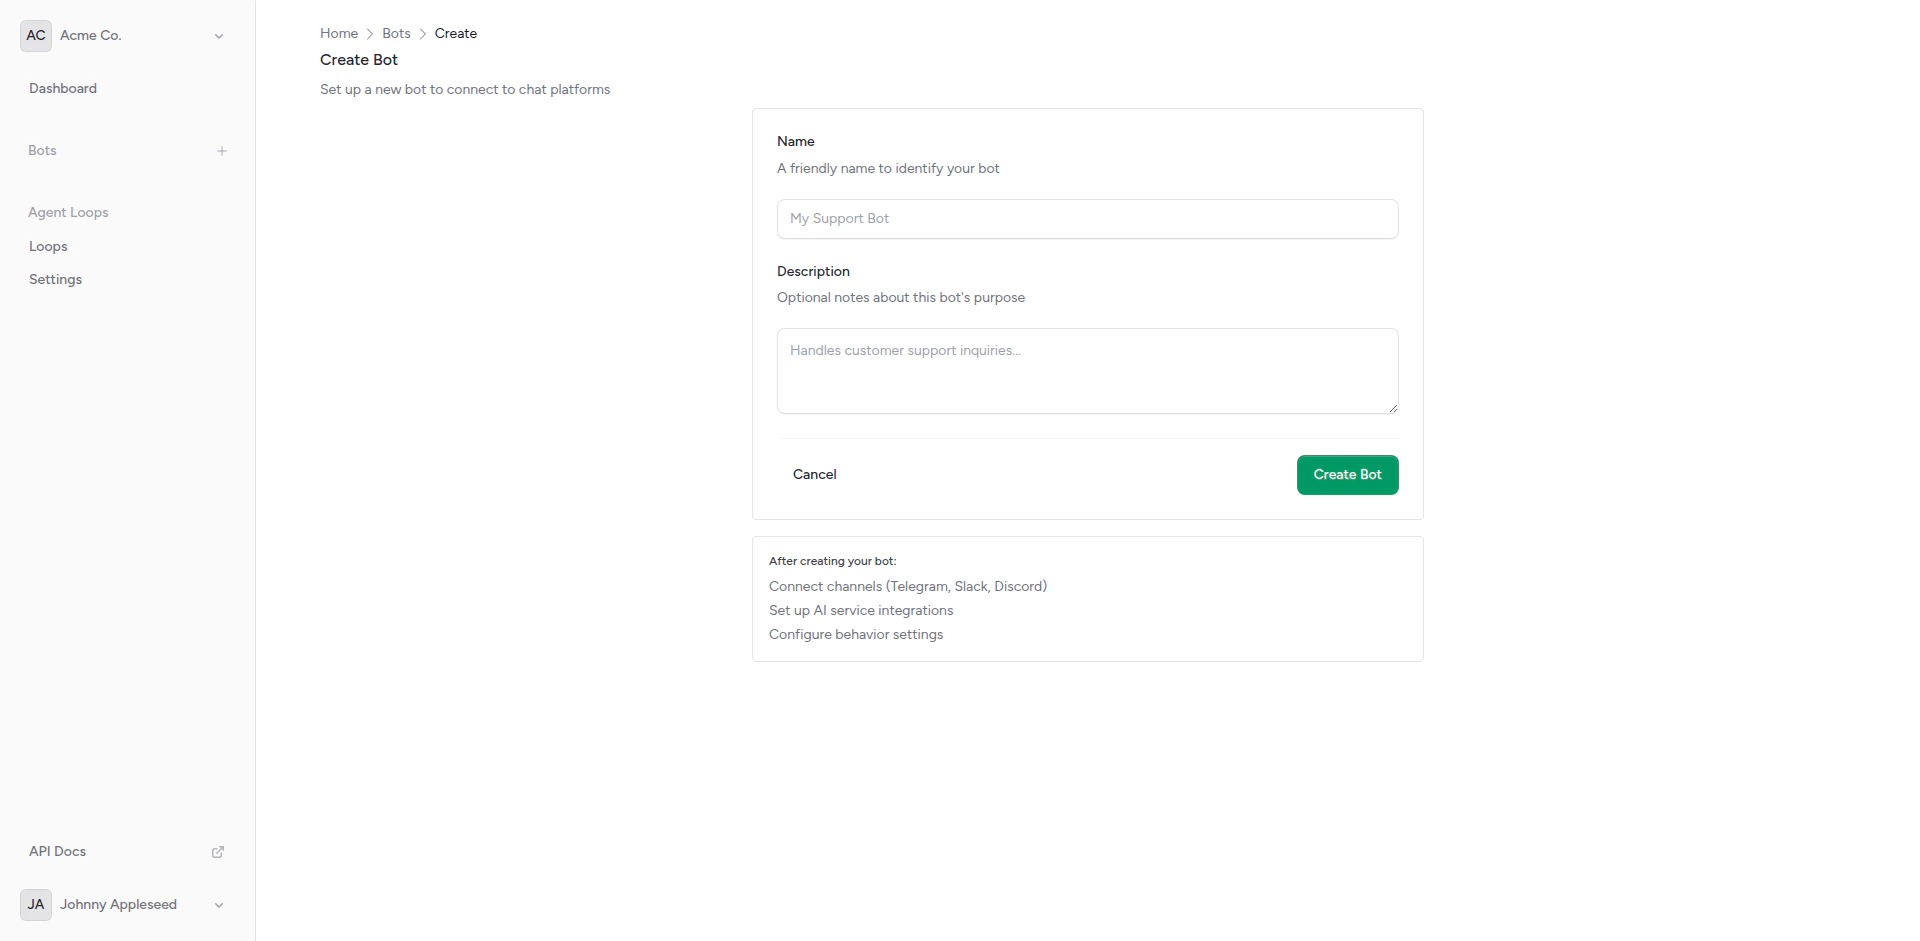 After creation, you'll be taken to the bot settings page. Here you can:
* Set the bot's name and description
* Configure behavior settings
* View connected channels and integrations
## Add an Integration
Your bot needs an AI backend to generate responses.
From your bot's page, click on **Integrations** in the sidebar.
Click **Create Integration** and configure your AI backend:
* **Name**: A friendly name (e.g., "OpenAI GPT-4")
* **Webhook URL**: Your AI backend endpoint
* **Headers**: Any required authentication headers
* **Timeout**: Response timeout in seconds
Use the built-in test feature to verify your integration works correctly.
**Default Integration**: Each bot comes with a default echo integration for testing. You can use this to verify your channel setup before connecting a real AI backend.
## Connect a Channel
Now connect your bot to a messaging platform.
1. Create a bot with [@BotFather](https://t.me/BotFather) on Telegram
2. Copy the bot token
3. In Chatbot Platform, create a new Telegram channel
4. Paste the token and save
5. The webhook is configured automatically
1. Create a Slack app at [api.slack.com/apps](https://api.slack.com/apps)
2. Configure OAuth scopes and install to your workspace
3. Copy the Bot Token and Signing Secret
4. Create a new Slack channel in Chatbot Platform
5. Enter the credentials and save
## Send Your First Message
Once your channel is connected:
1. Open the connected platform (Telegram, Slack, etc.)
2. Find your bot and send a message
3. Your bot will respond using the configured integration
Congratulations! Your first AI chatbot is now live and responding to messages.
## Next Steps
Customize typing indicators and response settings
Connect to additional messaging platforms
Compare multiple AI backends with weighted selection
Create autonomous AI workflows with tools
After creation, you'll be taken to the bot settings page. Here you can:
* Set the bot's name and description
* Configure behavior settings
* View connected channels and integrations
## Add an Integration
Your bot needs an AI backend to generate responses.
From your bot's page, click on **Integrations** in the sidebar.
Click **Create Integration** and configure your AI backend:
* **Name**: A friendly name (e.g., "OpenAI GPT-4")
* **Webhook URL**: Your AI backend endpoint
* **Headers**: Any required authentication headers
* **Timeout**: Response timeout in seconds
Use the built-in test feature to verify your integration works correctly.
**Default Integration**: Each bot comes with a default echo integration for testing. You can use this to verify your channel setup before connecting a real AI backend.
## Connect a Channel
Now connect your bot to a messaging platform.
1. Create a bot with [@BotFather](https://t.me/BotFather) on Telegram
2. Copy the bot token
3. In Chatbot Platform, create a new Telegram channel
4. Paste the token and save
5. The webhook is configured automatically
1. Create a Slack app at [api.slack.com/apps](https://api.slack.com/apps)
2. Configure OAuth scopes and install to your workspace
3. Copy the Bot Token and Signing Secret
4. Create a new Slack channel in Chatbot Platform
5. Enter the credentials and save
## Send Your First Message
Once your channel is connected:
1. Open the connected platform (Telegram, Slack, etc.)
2. Find your bot and send a message
3. Your bot will respond using the configured integration
Congratulations! Your first AI chatbot is now live and responding to messages.
## Next Steps
Customize typing indicators and response settings
Connect to additional messaging platforms
Compare multiple AI backends with weighted selection
Create autonomous AI workflows with tools