> ## Documentation Index
> Fetch the complete documentation index at: https://docs.chatbotplatform.io/llms.txt
> Use this file to discover all available pages before exploring further.
# Bots
> Build and manage AI-powered chatbots
Bots are the core of Chatbot Platform. They connect your AI backends to messaging platforms, manage conversations, and provide a seamless experience for your users.
## Overview
A bot is a configured instance that:
* **Connects to Channels**: Links to one or more messaging platforms (Telegram, Slack, Discord)
* **Uses Integrations**: Forwards messages to AI backends for response generation
* **Manages Conversations**: Tracks message history and context
* **Applies Behaviors**: Controls typing indicators, message detection, and response formatting
 ## Creating a Bot
From your dashboard, click **Bots** in the sidebar.
## Creating a Bot
From your dashboard, click **Bots** in the sidebar.
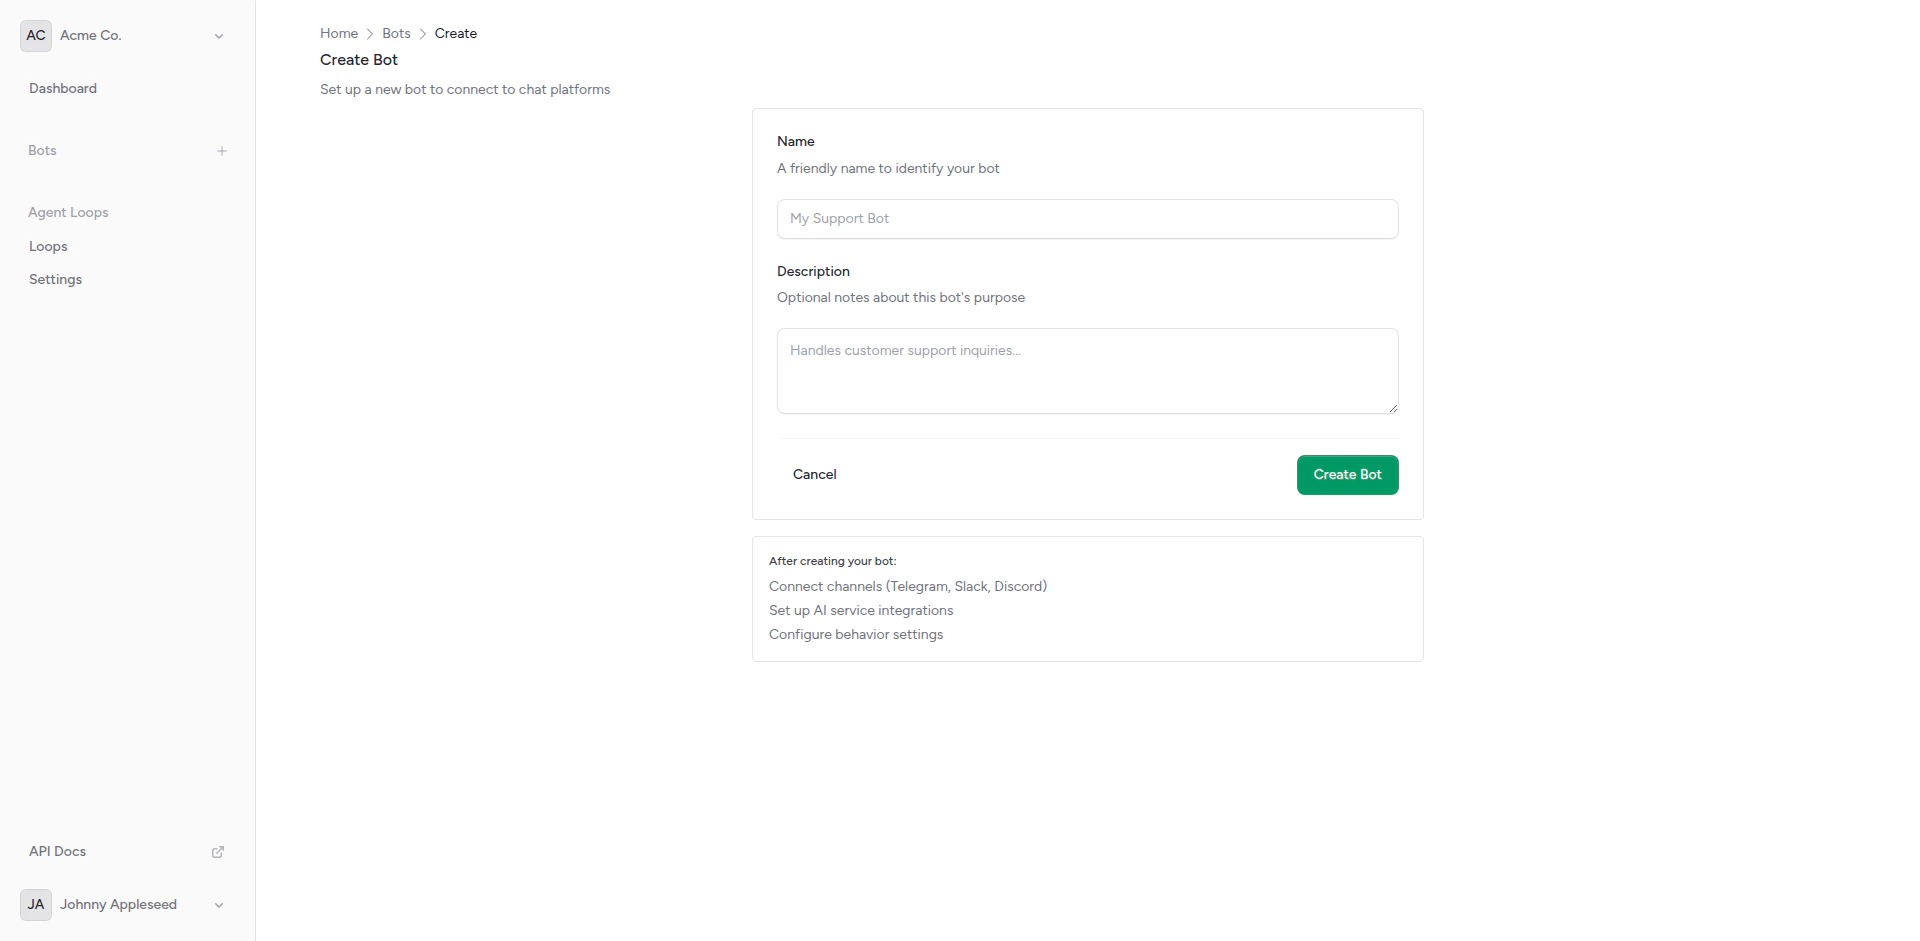
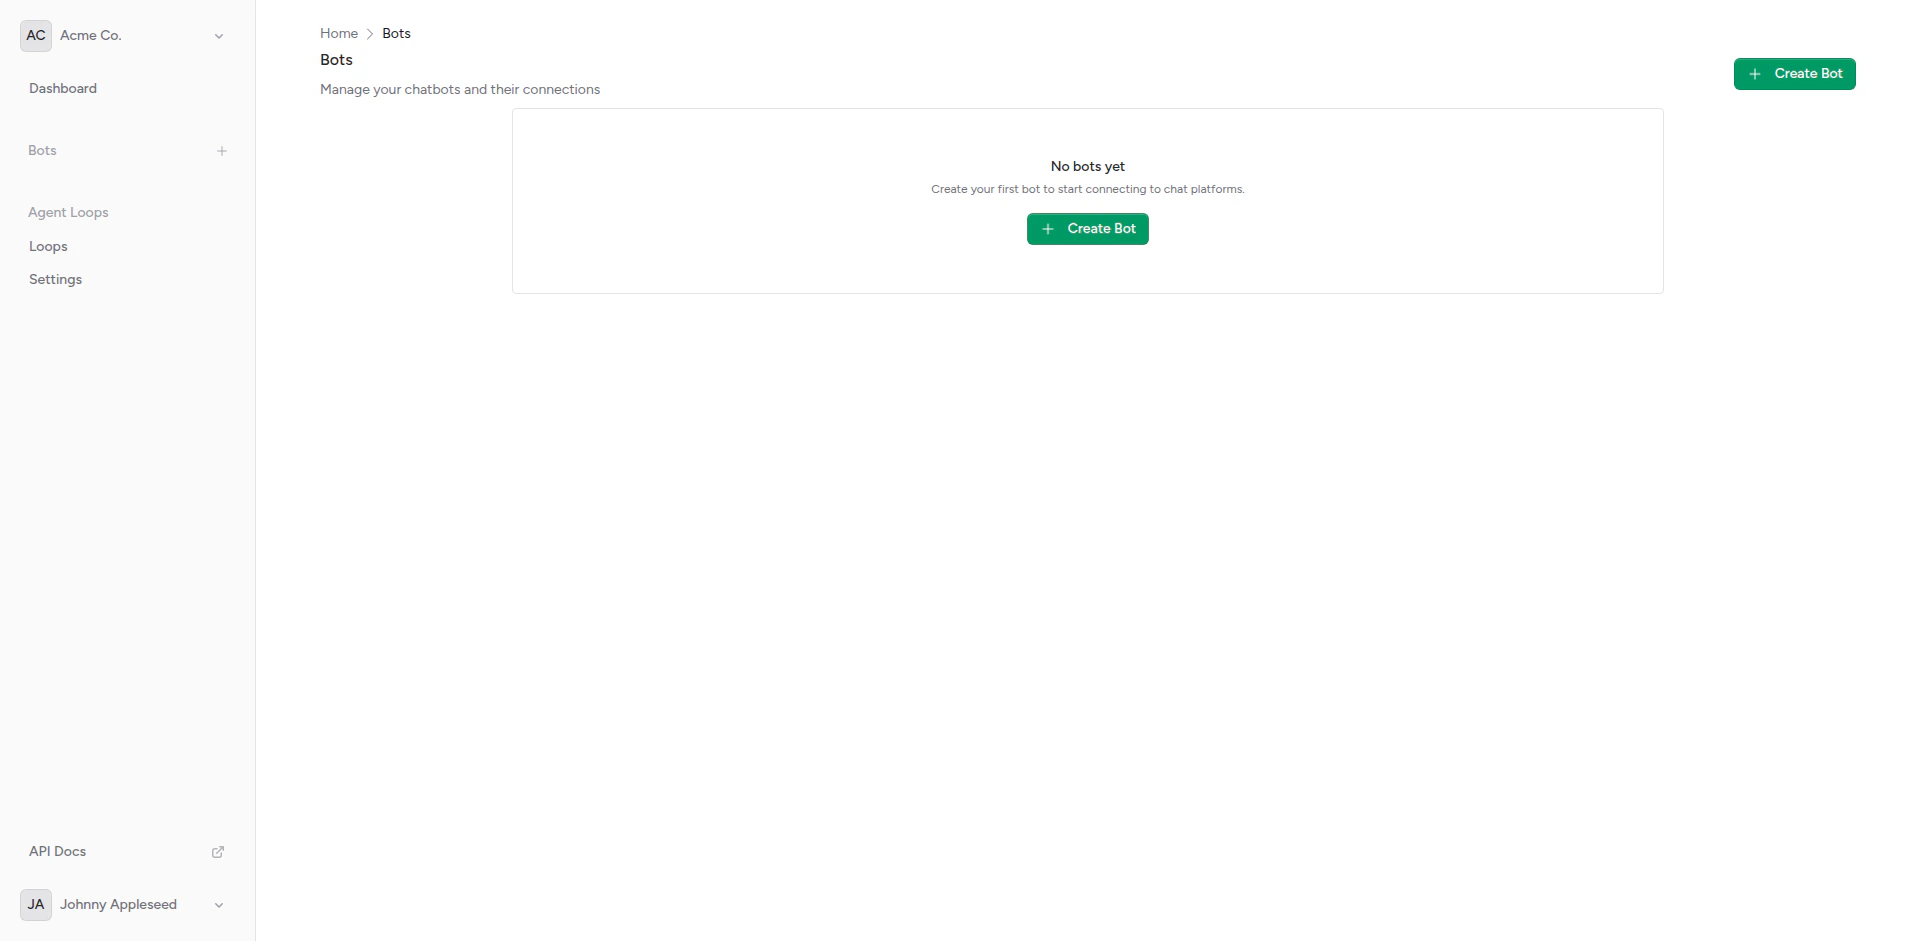 Click **Create Bot** and provide:
* **Name**: A friendly name for internal reference
* **Description**: Optional description of the bot's purpose
Click **Create Bot** and provide:
* **Name**: A friendly name for internal reference
* **Description**: Optional description of the bot's purpose
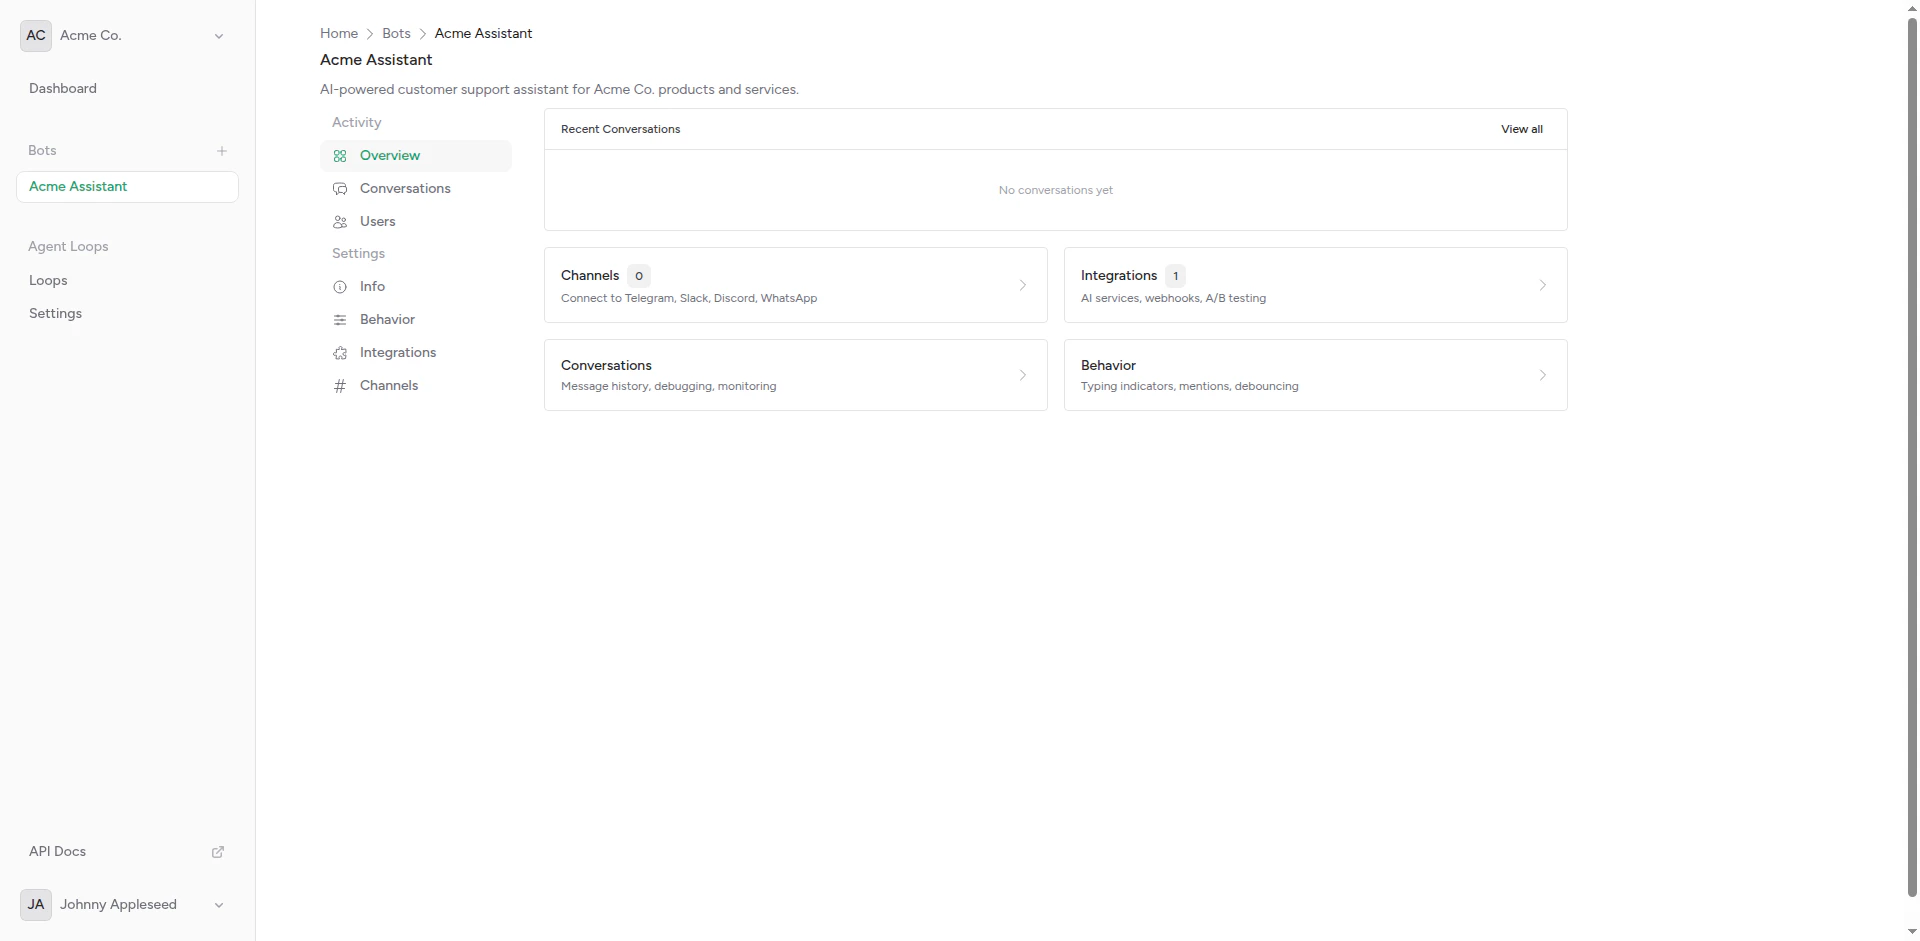
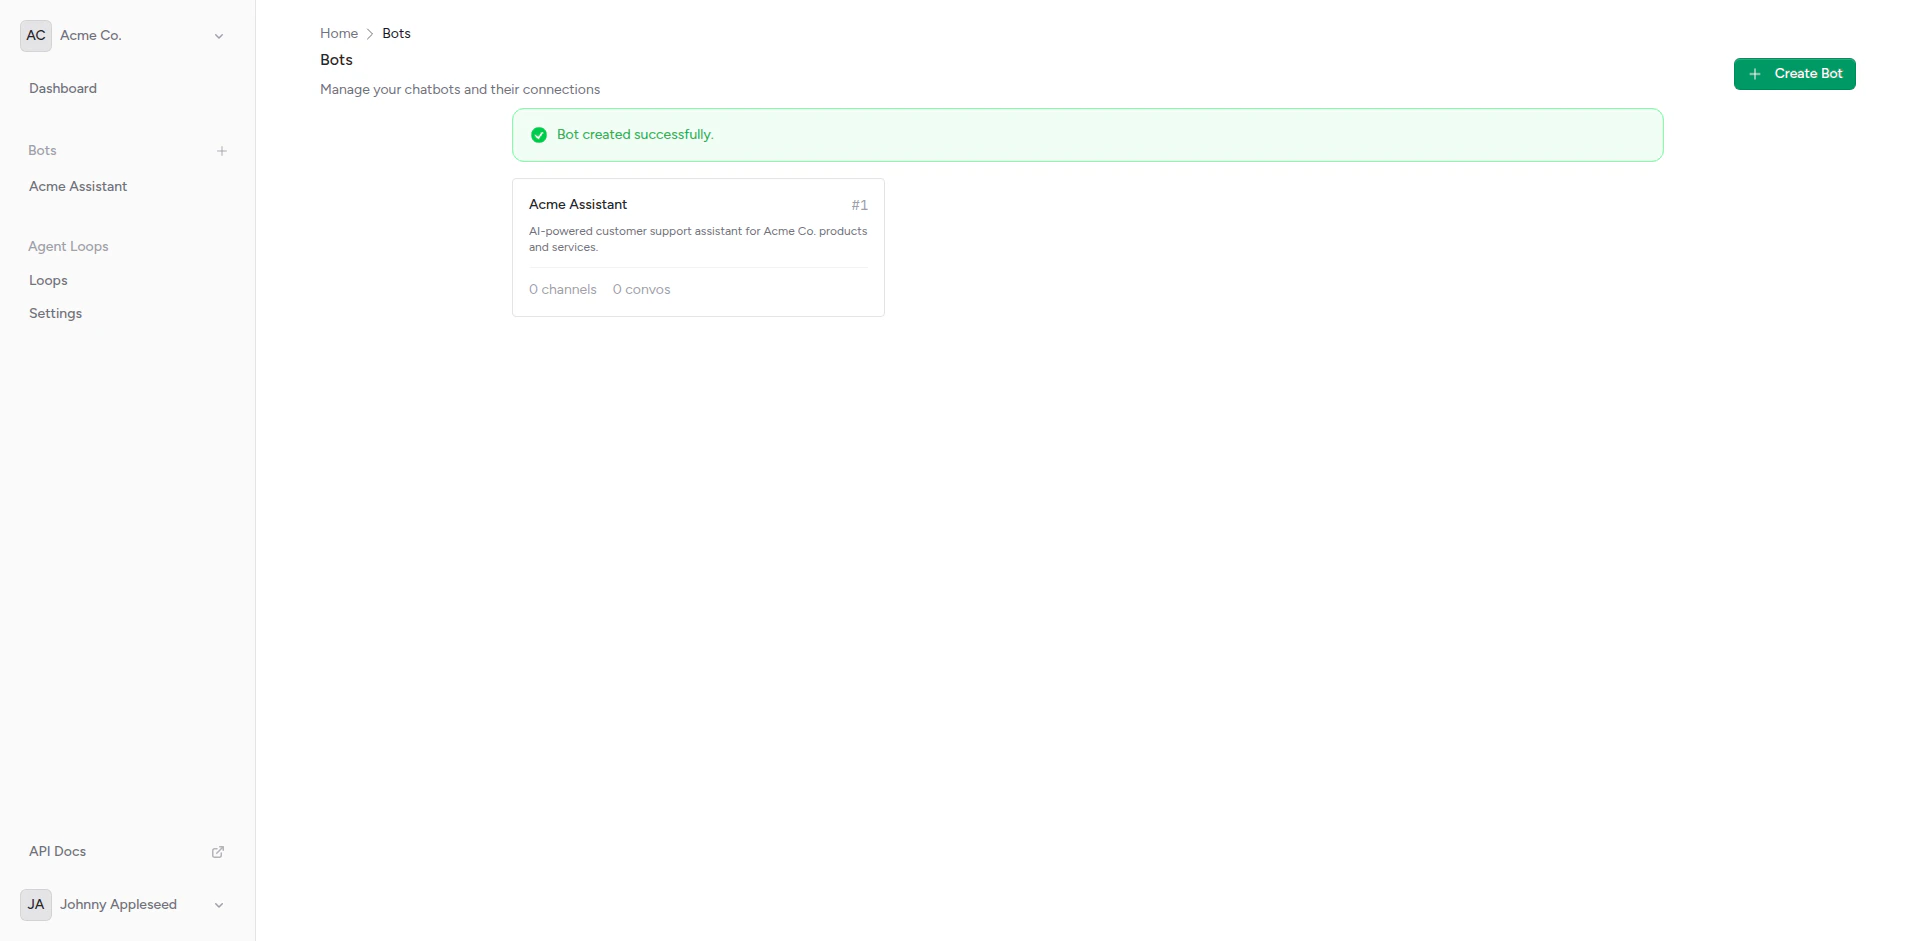
 After creation, you'll see the bot overview where you can configure behaviors, add integrations, and connect channels.
 ## Bot Components
### Behaviors
Control how your bot interacts with users:
Show "thinking" messages while generating responses
Determine which messages belong together in a conversation
### Integrations
Connect your bot to AI backends:
Configure connections to OpenAI, Anthropic, or custom APIs
Compare multiple AI backends with weighted distribution
Add authentication and custom headers to requests
### Channels
Deploy your bot to messaging platforms:
Connect to Telegram with bot tokens
Integrate with Slack workspaces
Deploy to Discord servers (coming soon)
### Conversations
Manage message history and context:
View and manage bot conversations
Configure context window size
## Default Integration
Every bot comes with a default "echo" integration that simply returns the user's message. This is useful for:
* Testing channel setup before connecting a real AI backend
* Debugging webhook delivery
* Understanding message flow
Replace the echo integration with a real AI backend when you're ready.
## Multiple Channels
A single bot can be connected to multiple channels simultaneously. This allows you to:
* Deploy the same bot across Telegram, Slack, and Discord
* Use one AI backend for all platforms
* Maintain separate conversation contexts per platform
* Centralize bot management
## Bot Settings
Configure these settings for each bot:
| Setting | Description | Default |
| ----------------- | ----------------------------------- | ----------------- |
| Name | Display name for internal reference | Required |
| Description | Optional purpose description | Empty |
| Typing Indicators | Show "thinking" messages | Enabled |
| Message Detection | Conversation grouping strategy | Platform-specific |
| Context Window | Number of messages to include | 10 |
## API Access
Manage bots programmatically using the API.
```bash theme={null}
curl -X POST https://api.chatbotplatform.io/v1/bots \
-H "Authorization: Bearer YOUR_API_KEY" \
-H "Content-Type: application/json" \
-d '{
"name": "My Bot",
"description": "A helpful AI assistant"
}'
```
```javascript theme={null}
const response = await fetch('https://api.chatbotplatform.io/v1/bots', {
method: 'POST',
headers: {
'Authorization': 'Bearer YOUR_API_KEY',
'Content-Type': 'application/json'
},
body: JSON.stringify({
name: 'My Bot',
description: 'A helpful AI assistant'
})
});
const data = await response.json();
console.log(data);
```
```php theme={null}
use Illuminate\Support\Facades\Http;
$response = Http::withToken('YOUR_API_KEY')
->post('https://api.chatbotplatform.io/v1/bots', [
'name' => 'My Bot',
'description' => 'A helpful AI assistant'
]);
$bot = $response->json();
```
```python theme={null}
import requests
response = requests.post(
'https://api.chatbotplatform.io/v1/bots',
headers={'Authorization': 'Bearer YOUR_API_KEY'},
json={
'name': 'My Bot',
'description': 'A helpful AI assistant'
}
)
bot = response.json()
print(bot)
```
```bash theme={null}
curl https://api.chatbotplatform.io/v1/bots \
-H "Authorization: Bearer YOUR_API_KEY"
```
```javascript theme={null}
const response = await fetch('https://api.chatbotplatform.io/v1/bots', {
headers: {
'Authorization': 'Bearer YOUR_API_KEY'
}
});
const { data } = await response.json();
console.log(data);
```
```php theme={null}
$response = Http::withToken('YOUR_API_KEY')
->get('https://api.chatbotplatform.io/v1/bots');
$bots = $response->json('data');
```
```python theme={null}
response = requests.get(
'https://api.chatbotplatform.io/v1/bots',
headers={'Authorization': 'Bearer YOUR_API_KEY'}
)
bots = response.json()['data']
```
```bash theme={null}
curl -X PATCH https://api.chatbotplatform.io/v1/bots/bot_123 \
-H "Authorization: Bearer YOUR_API_KEY" \
-H "Content-Type: application/json" \
-d '{
"name": "Updated Bot Name",
"description": "New description"
}'
```
```javascript theme={null}
const response = await fetch('https://api.chatbotplatform.io/v1/bots/bot_123', {
method: 'PATCH',
headers: {
'Authorization': 'Bearer YOUR_API_KEY',
'Content-Type': 'application/json'
},
body: JSON.stringify({
name: 'Updated Bot Name',
description: 'New description'
})
});
```
```php theme={null}
$response = Http::withToken('YOUR_API_KEY')
->patch('https://api.chatbotplatform.io/v1/bots/bot_123', [
'name' => 'Updated Bot Name',
'description' => 'New description'
]);
```
```python theme={null}
response = requests.patch(
'https://api.chatbotplatform.io/v1/bots/bot_123',
headers={'Authorization': 'Bearer YOUR_API_KEY'},
json={
'name': 'Updated Bot Name',
'description': 'New description'
}
)
```
```bash theme={null}
curl -X DELETE https://api.chatbotplatform.io/v1/bots/bot_123 \
-H "Authorization: Bearer YOUR_API_KEY"
```
```javascript theme={null}
await fetch('https://api.chatbotplatform.io/v1/bots/bot_123', {
method: 'DELETE',
headers: {
'Authorization': 'Bearer YOUR_API_KEY'
}
});
```
```php theme={null}
Http::withToken('YOUR_API_KEY')
->delete('https://api.chatbotplatform.io/v1/bots/bot_123');
```
```python theme={null}
requests.delete(
'https://api.chatbotplatform.io/v1/bots/bot_123',
headers={'Authorization': 'Bearer YOUR_API_KEY'}
)
```
View the full API specification with all endpoints, parameters, and response schemas.
## Next Steps
Customize how your bot responds
Connect AI backends
Deploy to messaging platforms
See bot conversations and history
## Bot Components
### Behaviors
Control how your bot interacts with users:
Show "thinking" messages while generating responses
Determine which messages belong together in a conversation
### Integrations
Connect your bot to AI backends:
Configure connections to OpenAI, Anthropic, or custom APIs
Compare multiple AI backends with weighted distribution
Add authentication and custom headers to requests
### Channels
Deploy your bot to messaging platforms:
Connect to Telegram with bot tokens
Integrate with Slack workspaces
Deploy to Discord servers (coming soon)
### Conversations
Manage message history and context:
View and manage bot conversations
Configure context window size
## Default Integration
Every bot comes with a default "echo" integration that simply returns the user's message. This is useful for:
* Testing channel setup before connecting a real AI backend
* Debugging webhook delivery
* Understanding message flow
Replace the echo integration with a real AI backend when you're ready.
## Multiple Channels
A single bot can be connected to multiple channels simultaneously. This allows you to:
* Deploy the same bot across Telegram, Slack, and Discord
* Use one AI backend for all platforms
* Maintain separate conversation contexts per platform
* Centralize bot management
## Bot Settings
Configure these settings for each bot:
| Setting | Description | Default |
| ----------------- | ----------------------------------- | ----------------- |
| Name | Display name for internal reference | Required |
| Description | Optional purpose description | Empty |
| Typing Indicators | Show "thinking" messages | Enabled |
| Message Detection | Conversation grouping strategy | Platform-specific |
| Context Window | Number of messages to include | 10 |
## API Access
Manage bots programmatically using the API.
```bash theme={null}
curl -X POST https://api.chatbotplatform.io/v1/bots \
-H "Authorization: Bearer YOUR_API_KEY" \
-H "Content-Type: application/json" \
-d '{
"name": "My Bot",
"description": "A helpful AI assistant"
}'
```
```javascript theme={null}
const response = await fetch('https://api.chatbotplatform.io/v1/bots', {
method: 'POST',
headers: {
'Authorization': 'Bearer YOUR_API_KEY',
'Content-Type': 'application/json'
},
body: JSON.stringify({
name: 'My Bot',
description: 'A helpful AI assistant'
})
});
const data = await response.json();
console.log(data);
```
```php theme={null}
use Illuminate\Support\Facades\Http;
$response = Http::withToken('YOUR_API_KEY')
->post('https://api.chatbotplatform.io/v1/bots', [
'name' => 'My Bot',
'description' => 'A helpful AI assistant'
]);
$bot = $response->json();
```
```python theme={null}
import requests
response = requests.post(
'https://api.chatbotplatform.io/v1/bots',
headers={'Authorization': 'Bearer YOUR_API_KEY'},
json={
'name': 'My Bot',
'description': 'A helpful AI assistant'
}
)
bot = response.json()
print(bot)
```
```bash theme={null}
curl https://api.chatbotplatform.io/v1/bots \
-H "Authorization: Bearer YOUR_API_KEY"
```
```javascript theme={null}
const response = await fetch('https://api.chatbotplatform.io/v1/bots', {
headers: {
'Authorization': 'Bearer YOUR_API_KEY'
}
});
const { data } = await response.json();
console.log(data);
```
```php theme={null}
$response = Http::withToken('YOUR_API_KEY')
->get('https://api.chatbotplatform.io/v1/bots');
$bots = $response->json('data');
```
```python theme={null}
response = requests.get(
'https://api.chatbotplatform.io/v1/bots',
headers={'Authorization': 'Bearer YOUR_API_KEY'}
)
bots = response.json()['data']
```
```bash theme={null}
curl -X PATCH https://api.chatbotplatform.io/v1/bots/bot_123 \
-H "Authorization: Bearer YOUR_API_KEY" \
-H "Content-Type: application/json" \
-d '{
"name": "Updated Bot Name",
"description": "New description"
}'
```
```javascript theme={null}
const response = await fetch('https://api.chatbotplatform.io/v1/bots/bot_123', {
method: 'PATCH',
headers: {
'Authorization': 'Bearer YOUR_API_KEY',
'Content-Type': 'application/json'
},
body: JSON.stringify({
name: 'Updated Bot Name',
description: 'New description'
})
});
```
```php theme={null}
$response = Http::withToken('YOUR_API_KEY')
->patch('https://api.chatbotplatform.io/v1/bots/bot_123', [
'name' => 'Updated Bot Name',
'description' => 'New description'
]);
```
```python theme={null}
response = requests.patch(
'https://api.chatbotplatform.io/v1/bots/bot_123',
headers={'Authorization': 'Bearer YOUR_API_KEY'},
json={
'name': 'Updated Bot Name',
'description': 'New description'
}
)
```
```bash theme={null}
curl -X DELETE https://api.chatbotplatform.io/v1/bots/bot_123 \
-H "Authorization: Bearer YOUR_API_KEY"
```
```javascript theme={null}
await fetch('https://api.chatbotplatform.io/v1/bots/bot_123', {
method: 'DELETE',
headers: {
'Authorization': 'Bearer YOUR_API_KEY'
}
});
```
```php theme={null}
Http::withToken('YOUR_API_KEY')
->delete('https://api.chatbotplatform.io/v1/bots/bot_123');
```
```python theme={null}
requests.delete(
'https://api.chatbotplatform.io/v1/bots/bot_123',
headers={'Authorization': 'Bearer YOUR_API_KEY'}
)
```
View the full API specification with all endpoints, parameters, and response schemas.
## Next Steps
Customize how your bot responds
Connect AI backends
Deploy to messaging platforms
See bot conversations and history